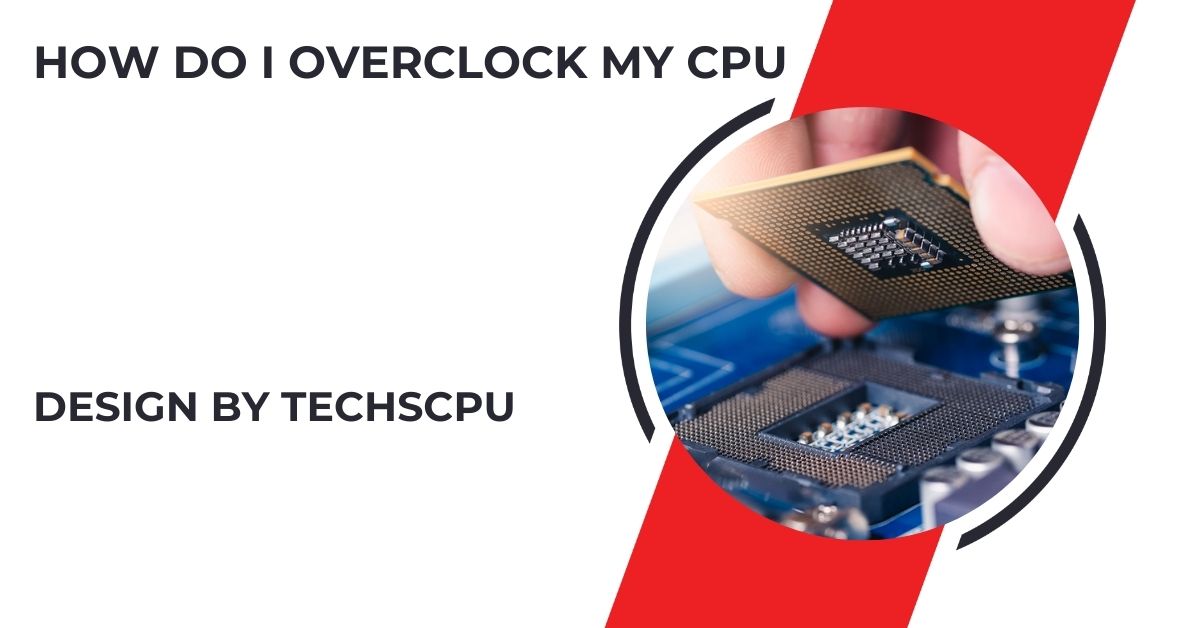
How Do I Overclock My Cpu – A Complete Guide!
Overclocking your CPU increases its clock speed beyond manufacturer settings for better performance, but it risks overheating and a shorter lifespan if done incorrectly.
In this guide, we will explain how to overclock your CPU safely, step by step. We will also cover the tools you need, the risks involved, and how to avoid common mistakes.
What is Overclocking?

Overclocking is the process of increasing the clock speed of your CPU beyond the manufacturer’s recommended settings. A CPU’s clock speed is measured in GHz (Gigahertz), and a higher clock speed means your processor can handle more tasks per second.
When you overclock, you essentially push your CPU to perform at a higher speed, which can boost your computer’s overall performance. However, this also makes the CPU work harder, which can lead to more heat and power consumption.
Why Overclock Your CPU?
Before overclocking, it’s important to understand the benefits it can bring. Here are some common reasons why people choose to overclock their CPUs:
- Improved Performance: Overclocking can significantly boost your computer’s overall speed, allowing you to get more out of your existing hardware. By increasing the CPU’s clock speed, tasks are completed faster, making your system feel more responsive without the need for expensive upgrades.
- Better Gaming: For gamers, overclocking can enhance frame rates and improve gameplay in graphically demanding games. Higher clock speeds mean the CPU can process more data in less time, leading to smoother performance, especially in games that are CPU-intensive.
- Faster Processing for Demanding Tasks: If you use your computer for resource-heavy activities like video editing, 3D rendering, or data analysis, overclocking can drastically reduce processing times. This allows you to complete tasks more efficiently, making your workflow faster and more productive..
Risks of Overclocking:
While overclocking offers several advantages, it also comes with potential risks that should be carefully considered:
- Increased Heat: Overclocking increases your CPU’s power consumption, which generates more heat. Without proper cooling solutions such as high-quality air or liquid coolers, your system could overheat, leading to performance issues or even permanent damage. Excessive heat can cause instability and may result in frequent system crashes.
- Reduced Lifespan: Operating your CPU at higher clock speeds puts more strain on the processor. Over time, this added stress can shorten the lifespan of the hardware, especially if the overclocking is aggressive or sustained over long periods. CPUs are built to handle a certain level of performance, and pushing them beyond this limit increases wear and tear.
- System Instability: Overclocking, if not done carefully, can lead to system instability. Improper settings or insufficient cooling can cause your computer to crash, freeze, or even corrupt data. In extreme cases, an unstable system could fail to boot properly, requiring you to reset your BIOS settings or reinstall your operating system.
Also read: How To Apply Thermal Paste To Cpu – A Complete Guide!
Things You Need Before Overclocking:
Before starting the overclocking process, you will need a few tools and pieces of information:
- A Compatible Motherboard: Not all motherboards support overclocking. Check if your motherboard allows for CPU overclocking.
- A Good Cooling System: Since overclocking generates more heat, you need a proper cooling system, such as a high-quality air cooler or a liquid cooling system.
- Overclocking Software: Programs like BIOS/UEFI, CPU-Z, and Prime95 are useful for monitoring and adjusting your CPU settings.
- Patience: Overclocking requires time and careful adjustments. It’s a trial-and-error process, and rushing can lead to mistakes.
Step-by-Step Guide: How to Overclock Your CPU

Check if Your CPU Supports Overclocking:
Before attempting to overclock, it’s crucial to confirm that your CPU supports it. Processors like Intel’s “K” series or AMD Ryzen are designed for overclocking. To verify this, check the specifications of your CPU model. If your CPU does not support overclocking, trying to modify its settings could lead to performance issues or hardware damage.
Update Your BIOS/UEFI:
Updating your motherboard’s BIOS/UEFI is a vital step before overclocking. A recent version will ensure that your motherboard has all the necessary features for overclocking. To update, restart your computer and press Delete or F2 during the boot process to access BIOS. Follow the prompts to check for updates. Having the latest version can greatly enhance system stability and performance.
Also read: How To Undervolt Cpu Gigabyte Bios – A Comprehensive Guide!
Run a Stress Test Before Overclocking:
Conducting a stress test before making any changes is essential. Use programs like Prime95 or AIDA64 to evaluate your CPU’s current stability. Run the test for a minimum of 30 minutes to assess how well your system performs under load. If it operates without any crashes or errors, you are ready to proceed with the overclocking process confidently.
Enter BIOS/UEFI to Adjust CPU Settings:

To begin overclocking, restart your computer and enter BIOS/UEFI by pressing Delete or F2. Look for CPU settings, typically labeled CPU Clock, Multiplier, or Overclocking Settings. Familiarizing yourself with these options is essential, as they allow you to modify the clock speed and performance of your CPU. Be cautious and methodical when making changes.
Increase the CPU Clock Speed:
In BIOS, increase the Multiplier or Clock Speed by a single increment (for instance, from 40 to 41). This adjustment raises your CPU’s operating frequency, enhancing performance. After making the changes, save your settings and restart the computer to apply the new speed. Check if your system runs at the newly set speed without issues after rebooting.
Test for System Stability:
After increasing the clock speed, it’s crucial to run another stability test. Use tools like Prime95 or similar software to stress test your CPU for at least 30 minutes. Monitor for any crashes or errors during this period. If the system is stable, your overclock is successful. If not, revisit BIOS to make necessary adjustments.
Also read: Intel Lga 1700 Socket Cpu List – A Comprehensive Guide!
Adjust the CPU Voltage (Optional):
If you encounter instability during testing, you may need to adjust the CPU Core Voltage (Vcore). Increasing the voltage can help your CPU maintain stability at higher speeds. Make small adjustments (e.g., increase by 0.01V), then retest for stability. Remember, excessive voltage can lead to overheating, so it’s important to monitor temperatures closely after each change.
Monitor Temperatures:

Monitoring your CPU temperature during overclocking is critical to ensure system safety. Use software like HWMonitor or Core Temp to keep track of temperatures during stress tests. Ideally, your CPU should stay below 80°C. If it exceeds this threshold, consider lowering the overclock or improving your cooling system to prevent potential damage from overheating.
Fine-Tune and Test:
Continue to fine-tune your overclock settings based on stability tests. After each adjustment, run stress tests to confirm system stability. Gradually increase the clock speed and voltage as needed, carefully watching for any signs of instability or overheating. Finding the right balance between performance and stability is crucial for a successful overclock.
Save and Enjoy Your Overclock:
Once you achieve a stable overclock, save your settings in BIOS/UEFI. Enjoy the performance boost during gaming and demanding applications. Regularly monitor your CPU’s temperature and overall system stability, as maintaining your overclock is essential for long-term performance. With proper care, your overclocked CPU can enhance your computing experience significantly.
Also read: What Is A Core In A Cpu – A Complete Guide!
Tips for Safe Overclocking:
- Go Slow: Overclocking should be a gradual process. Avoid jumping to the highest clock speed right away. Instead, start with small increments and gradually increase the clock speed. This approach allows you to assess stability and performance improvements step by step.
- Monitor Everything: Keep a close eye on your CPU’s temperature, voltage, and overall performance throughout the overclocking process. Use monitoring tools like HWMonitor or CoreTemp to track these metrics in real time. This ensures you catch any potential issues before they become serious problems.
- Test Frequently: After each adjustment, run stress tests to check your system’s stability. Tools like Prime95 or AIDA64 can help you evaluate how your CPU handles the new settings under load. Frequent testing helps identify any instabilities early on, allowing for quick adjustments.
- Avoid Too Much Voltage: Increasing the CPU voltage can improve stability, but too much voltage can damage both your CPU and motherboard. Stick to safe voltage limits specified by the manufacturer, and increase the voltage only as needed for stability.
FAQ’s
1. What is CPU overclocking?
CPU overclocking is the process of increasing the clock speed of your CPU beyond the manufacturer’s recommended settings, which boosts performance for tasks and applications.
2. What tools do I need to overclock my CPU?
You’ll need a compatible motherboard, a good cooling system, overclocking software (like BIOS/UEFI and CPU-Z), and patience to make adjustments safely.
3. Is overclocking safe for my CPU?
Overclocking can be safe if done carefully, with proper cooling and gradual adjustments. However, it carries risks such as overheating and reduced lifespan if not managed correctly.
4. How do I know if my CPU supports overclocking?
Check your CPU specifications. Processors like Intel’s “K” series or AMD Ryzen are designed for overclocking. If your model doesn’t support it, modifying settings can cause issues.
5. What should I monitor while overclocking?
Monitor CPU temperature, voltage, and system stability. Use tools like HWMonitor or CoreTemp to track these metrics during stress tests to prevent overheating and ensure stability.
Conclusion
Overclocking your CPU can significantly enhance your computer’s performance, making it faster and more efficient for gaming and demanding tasks. However, it’s crucial to approach this process carefully to avoid risks like overheating and system instability. By following the outlined steps and safety tips, you can enjoy the benefits of a higher clock speed while minimizing potential downsides.


